The task of organizing a classroom library can be SO daunting. Where to begin? How many tubs to do I need? What is the best way to sort my books? How can I make it easy and inviting for my students? This has been my summer task and today I am sharing with you how it is going. Please keep in mind, that I am nowhere near done (it will take me ALL summer to organize the number of books that I have) but I am getting there!!

This is my confession to you! I own so many books it is ridiculous!! I have FIVE bookcases FULL at school and FOUR bookcases FULL at home. (These are NOT small bookcases.) My husband swears that he will not buy me anymore bookcases because I will just fill them up! This is terrible, but part of me cannot wait until my littlest son is older so that I can take all of my children's books from home into my school classroom library! My name is Jessica, and I am a book hoarder. I also have a really hard time letting the kiddos touch my special favorite books (isn't that terrible?). It truly is an addiction!
Yesterday, my friend Em shared with you a whole list of places to buy books. Obtaining a full classroom library truly takes time and money (something that we teachers do not have a lot of). We are helping you find some cheap places to gather these materials! You can check out her
list here. And if you have any others to add, please let us know! I know that here in Virginia, we have what is called the
Green Valley Bookfair. It is a serious addiction. Every few months they open up this huge warehouse (it used to be a barn and they have had to add on to it) filled with discounted books. Teacher's Paradise! Do NOT let me in this place with a credit card! (My husband only allows me to go twice a year!)
Since my classroom is currently being cleaned, I can't really get into it at the moment. Instead, I have loaded up the car and brought
some of them home. I could only fit about half of them into the back of the van but it gives me a good start.
Next, I had to decide how I wanted to sort my books. There are many ways to go about this and a lot of it depends on you and your school. Personally, I like when my students can find books that interest them. I want them to easily be able to find their favorite race car book or Pete the Cat. The other thing that I want to consider is the reading levels of my books. I have had years when I sorted my books strictly on book level and students were only allowed to choose from certain shelves that contained their level. This is great for readability but not for interest.
This year, I have decided to do BOTH! Each book will contain 2 stickers on the inside cover, one with the topic of the book and the other with the level of the book. Books will physically be sorted by their topic but students (and I) will also be able to see what level the book is. At my school, we use Fountas and Pinnell. This is what I will be leveling my books by. I prefer this leveling system to AR, grade level, and Lexiles. I think that it considers the book as a whole better than other leveling systems. It looks at the readability, content, vocabulary, and appropriateness of the book. I do recommend looking to Lexiles for your outlying students however (older students reading at a low level, younger students reading at a high level). But that is a topic for a different day! =)
So, why am I choosing to sort using both concepts? Many teachers do not believe in letting students know their reading level because they judge one another and themselves against their peers. I get that. I do. I also get that students are going to do this regardless of us telling them their reading level or not. I think that this strategy can be used appropriately and with gentle care, and can then be very successful in the classroom. In my classroom, my students track their own progress throughout the school year, using this chart that I made. You can pick it up for free at my store.
They always know what level they are. We set goals together. We discuss their reading progress together. Please understand that I also spend a lot of time helping students to understand that they are capable and that everyone has strengths and weaknesses. We celebrate each time that a student meets their goal and I put more emphasis on reading
growth than on reading
level.
Each student in my classroom has a book box. They are allowed to choose 3 books from my library each week. Two of these books must be within their reading level and one can be ANY level. This is to give them the opportunity to just enjoy reading! I have made my reading levels color coded and in groups so that students who are reading at a C, D, or E are all reading books with green stickers. These students may choose any book with a green sticker. Keep in mind that this should be their INDEPENDENT reading level, not their instructional level. I plan to keep an index card paper clipped to the inside of the book box that will contain a sticker for the student's current level as a reminder for them.


So now that I have decided HOW I am going to sort, it is now time to do it. Where to begin? I find it easiest to begin with my books that are in a series. These books are obviously going to go together. Magic Tree House in one tub; Cam Jansen in another. Little Bear in a tub; Frog and Toad in another.
I found these great tubs at the Dollar Tree and started sorting them.
Then I began labeling them. I created these labels with the topic and a space that says "This book belongs to ________." These went on the inside cover of the book. (I didn't put them on front because I don't want it to be distracting to the students). I will also place a matching sticker on the front of the basket that holds these books. So a Magic Tree House sticker will go on the inside of the book AND on the tub holding the Magic Tree House books.
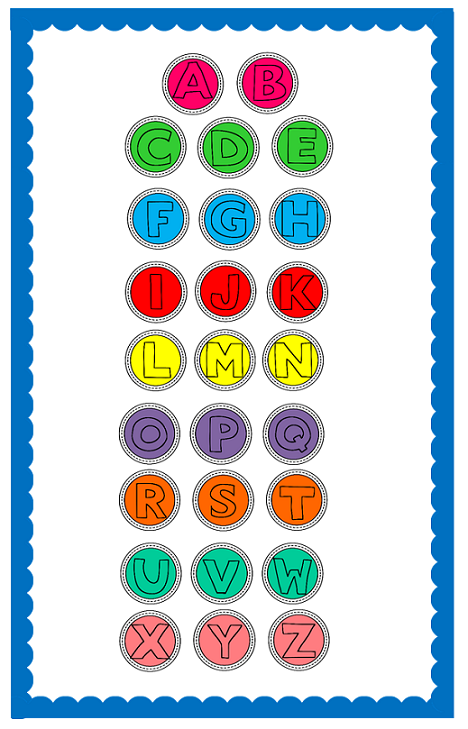
Next, I had to find the guided reading levels for each of the books. I found that Scholastic Book Wizard had the majority of the levels that I needed. Book Wizard even has an app now where you can scan the bar-code for easy look up. I had a little trouble with the scanning, but since I was only looking at series books at this point it was easy to search Magic Tree House and find all of my levels. Then I place the leveling sticker on the inside cover of the book under the topic sticker.
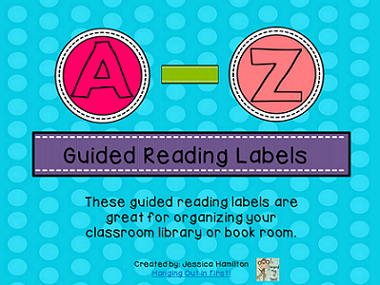
You can get the guided reading labels for free here!
Next, I started in on my picture books. This part is still on-going. Picture book topics come in a huge range and determining the topics is the most daunting task (for me anyway). I am a bit of a perfectionist so I have a really hard time with this. I think the easiest thing to do is clear a big space on the floor and spread them out. Find a few books that are on a similar topic (probably an easy start would be animals) and put them into a basket. Keep going until all books are "categorized." Then go back and look at your baskets and see if any of your topics need to be broken up into smaller categories, such as farm animals and ocean animals.
You can see that I laid a piece of scrap paper with the topic written on it in front of each basket to remind me of its contents!
Once I have the topics labels in my picture books I will go back and add the level for each of these. I have found that I have a lot of old books from the Rigby series as well as others. These are obviously not going to show up in the Scholastic Book Wizard. I will share with you below a few places that I have found for finding levels. Please understand that there may be some discrepancy among these levels as they are not coming directly from the Fountas and Pinnell website. Sometimes you just have to use your own judgement.
A-Z Teacher Stuff
Hubbard's Cupboard
The Classroom Library Company - This one had my Superphonics book levels from Rigby
The Story Box - McGraw-Hill
Sundance - Little Red Readers
Rigby and Harcourt Levels
Conversion Chart
McGraw-Hill Science Readers - grade 1
McGraw-Hill Science Readers - grade2
Rigby Grade Level Chart
If you have a series of books that you cannot find the levels for, my best advice is to find the publisher's website. I was amazed at how often I was able to do a search on the company website and find the reading level right there!
Have one basket just for damaged books - The Book Hospital - and one basket just for returns! This is a classroom job in my room. My librarian helpers return the books to their correct baskets simply by matching up the topic pictures on the inside cover of the book! Every week or so, I will fix any damaged books placed in the book hospital basket and move them to the return basket for my librarian helpers to put away.
Now, once I have topic stickers and guided reading stickers in each of my books, my library should be able to run itself. Students can easily find the books that are their level. They can easily find books of interest to them. They can easily PUT THE BOOKS AWAY to the correct basket!
We want to know how YOU organize YOUR library! Take pictures of your classroom library and post them on INSTAGRAM or our Facebook Page. Tag it with #LitLandLibrary. I will be back with you next month to share my final library pictures as well as some of yours!


 Bob has quite a few fashionable looks. Here he is visiting from Pinterest (Dr. Jean) in a tuxedo ready for the class party.
  Here is Bob on Crazy Hair Day in Sunflower Lily's classroom. He is such a popular guy. If you think his hair is funny, you should have seen the boys and girls in this classroom.
 If you want to use Bob during your guided reading time, here are a few suggestions of how: