Increasing Pupil Engagement

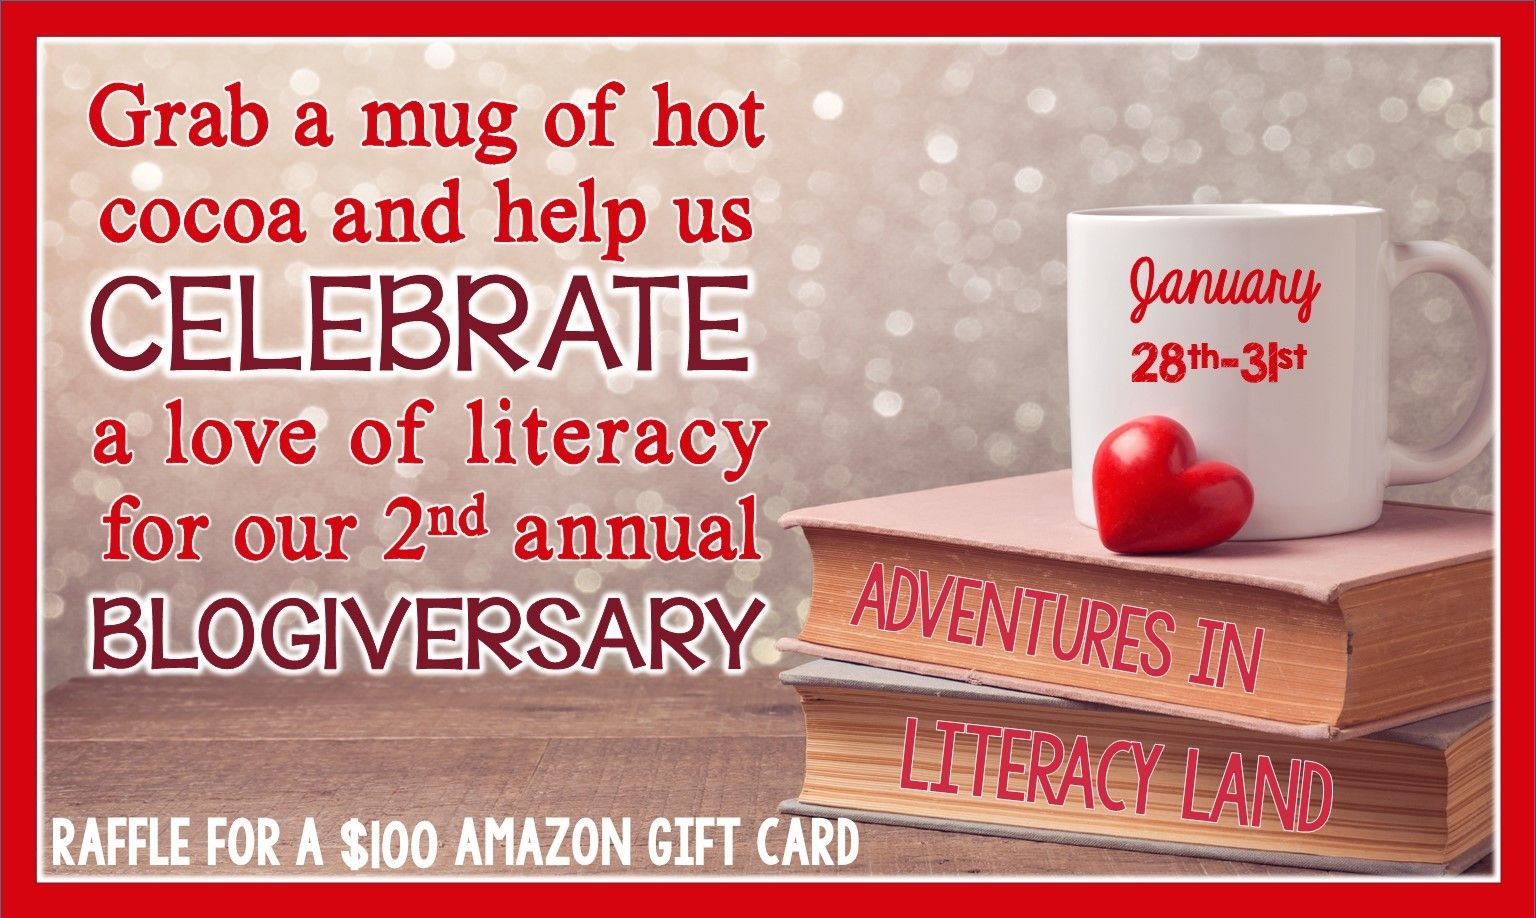
This was a tricky post to write as I wouldn't really consider myself to have any particular area of expertise! I have led literacy in my school before but currently lead math, I love teaching phonics but fins myself teaching more RE each week these days than anything else, I deliver a lot of staff training, but this is on a whole range of different topics - definitely not just literacy. 

So I looked back over the posts I have written for Adventures in Literacy Land over the last year and realised that pupil engagement strategies was a common thread...

Making Writing Special: one way I set up the classroom environment to engage and motivate writers.


Using Story Sacks: a way to help children get exited about and explore different aspects of stories.


Learning Grids: a great and easy strategy for making learning more hands on and fun!


Consensus Activity: engage children by developing speaking and listening and collaboration skills.


This year I am cover teaching one day a week for a particular class and I am struggling to hold their attention for any significant amount of time. I am not used to this! I'm finding it hard. I need to cut my teacher talk time down even more.

The jigsaw strategy for imparting information is nothing new. I've read about it, been told about it on courses, watched video clips even. But for some reason I've never really used it as a strategy in my classroom.

Last week we celebrated World Religion Day and I wanted to give the class time to explore some of the main religions represented in our school. There are lots of lovely PowerPoint presentations out there that I could have talked through but instead, I thought I would try out this strategy with the class.
I set children in home groups of 6 and paired them up with each pair assigned a different religion. Each pair of children was given time to explore the religion using the information sheets I provided and a laptop to read the always useful information pages on the Woodlands Junior site!

After a short time, I moved the children to form their expert groups - pairs of children from different home groups who had been researching the same religion. They got together and discussed what they had found. Pairs had discovered similar information but each also seemed to have something new to share that the others hadn't read yet or taken in.

I then asked these expert groups to create an interactive poster to share at the end of the afternoon.

I gave them access to some lovely interactive notebook templates by Meredith Anderson and off they went!

I deviated from the traditional jigsaw strategy in that I didn't have them report back and share their expert knowledge in home groups again but rather had them present to the whole class...

 And there you have it! Very little teacher talk, lots of learning and lots of pupil engagement!

Celebrate our 2nd Birthday with a Giveaway!


It's time for us to finally have our giveaway!  We hope you have enjoyed meeting the new bloggers and becoming reacquainted with some of our seasoned bloggers. We still have a few more bloggers for the month of January, but we are ready to start our BIG giveaway!  One you don't want to miss!

You read that right! We are giving away a $100 Amazon gift card that you can use for you and your classroom!  What will you buy with all of that loot?  I don't even know where I would start!

Just enter the Rafflecopter below! Good luck!!


Focusing in on Guided Reading

Hi everyone!  It’s Jennie from JD’s Rockin’ Readers!  As you’ve probably heard by now Adventures in Literacy Land is celebrating its 2nd Birthday!  I’m very proud to say that I have been a part of this blog from the start.  I have gained some great friends over the past couple of years and I am so excited that we have some new bloggers on board this year!


We are talking about ourselves this month and what we feel we do well as teachers.  I thought I would talk just a bit about getting down to the nitty gritty of a Guided Reading Lesson.

I want to share with you today how I teach my Guided Reading Groups in a few short steps.

1.    I have an hour block for centers/guided reading each day.  I follow a mix of Daily 5 and additional centers.
2.    I try to meet with 3 groups a day.  It looks something like this:

Monday
Tuesday
Wednesday
Thursday
Friday
Group 1
Group 2
Group 3
Group 1
Group 4
Group 5
Group 1
Group 2
Group 3
Group 1
Group 4
Group 5
Group 1
Group 2
Group 3
I like to meet with my lowest group every day, my low/middle groups 3x a week and then my highest two groups 2x a week.

3.    When I meet with a group, the first thing that we do is read the book that was read the last time we met.  It’s a reread and I will listen in and often take a running record on one of the students.  I want to make sure that the book is an appropriate instructional level.  After they read it, they put it into their Book Box that they use for Independent/Buddy Reading.


4.    Then, we do some sort of word work skill depending on the level book the students are reading.  This only takes about 3-5 minutes.  I like to make these very quick.

5.    Next, I will do a book introduction and we will take picture walk.  Many times, I will leave the ending as a “surprise” which then gives them a purpose to read.  We discuss important vocabulary words and also locate them in the text.

6.    Then it’s time to read.  This is VERY important.  During our lesson, every student reads the book independently.  We don’t do “round robin” reading.  It is imperative that every student reads the entire book- on their own.  I am there to help and intervene when needed to help them learn independent reading strategies.  I listen in as they read it with a whisper voice.


7.    Finally, since they are all reading at their own pace, they finish at different times.  I tell them to read it again until everyone is finished.  Then we will do some sort of quick comprehension skill.  After that, I keep the book until the next time we read.


I recently updated my Guided Reading Binder.  You can check it out by clicking on the picture!  I use Velcro for the student names so that I can easily change my groups around when I need to!  


You may also be interested in...


3 Easy Ideas to Boost Engagement during Guided Reading


Two years ago this month a group of passionate literacy teachers came together to launch Adventures in Literacy Land.  Our intention was to share ideas with each other and with you, our readers, so that we could learn and grow professionally.

To celebrate our blogging birthday, we will be reintroducing ourselves and sharing a few literacy tips in our areas of interest.  Then, we'll be wrapping up the month with a Big Birthday Giveaway.  Be sure to stop back and enter!


Here's a little bit about me...


I've been teaching for over 20 years, yikes! That makes me (a very young at heart) forty-something. Although I've taught many different grade levels, I'll always consider myself a first grade teacher since most of my years were spent there. However, several years ago I accepted a position as a reading specialist, doing what I love best, teaching children to read. :)

Here's a little bit about my area of interest...

I've always been especially fond of the time I share with students in a small group setting teaching guided reading.  So today I thought I would share a few of my favorite ways to boost student engagement during guided reading.

1.  Brighten Up Your Picture Walks 

Take a picture walk to search for tricky words and preview important vocabulary with these mini-flashlights.  You'll see students' faces light up when you hand them this 'reading' tool!

2.  Replace Lined Notebook Paper with Novelty Notepads

If you are like me, you have a basket full of notepads and sticky notes.  I use them during guided reading lessons to spark a little enthusiasm for writing.  We complete word work activities and written responses on these fun notepads.

(The problem/solution tablet shown in the last frame is from Primary Paradise and will be glued into our interactive notebooks when complete.)

3.  Add Pizazz to Close Reading

Many of my developing readers tend to shut down when reading activities require stamina and deep thinking.  For close reading, we break down the tasks and work through them one step at a time.

The Sticky Note Jot Spots from One Extra Degree are great for digging deeper into the meaning of text.  Students use the bookmarks as a reminder of what they are 'digging' for, then they jot down their thinking on stickies.

I can't tell you how much students look forward to using the highlighters pictured above while they read.  Each color has a different purpose.  You can print the labels for yourself at First Grade Bangs. (The Koala passage is from Mrs. Thompson's Treasures.)
   
Thanks for celebrating Literacy Land's second birthday with us!  I hope you found a tip or two that you can use with your readers.  Stop back again soon!


Making the Math and Literacy Connection

Two years ago, I connected with some online reading friends and this blog was the result.  The journey has been fantastic.  In celebration of our blog birthday this month, we are reacquainting each of you with our authors and introducing new authors.  We are also doing an awesome giveaway at the end of the month, so keep checking back for more information.
 photo Slide2_3.jpg
Last school year, I entered a new realm in my educational life as a math/science instructional coach after being a literacy coach for six years.  I continued to blog here to keep current on what works in literacy instruction.  This year I am excited to focus on blogging about making the literacy connection in math.
 photo Slide1_3.jpg

Using the strategies students learn in reading during math, they can become better mathematicians, so they won't have to "chuckle about not being good at math."

 photo neil-degrasse-tyson-math.jpg

Each month, I will tackle a different topic that will help you make stronger connections between your math and literacy instruction, which will in turn help your students become more confident readers and mathematicians.


As a preview of what is to come, we will kick things off by talking about how to use a common literacy strategy in math:  word splash.

Word splash is a comprehension and vocabulary strategy where words and short phrases about a concept are "splashed" on the whiteboard, Smart Board, windows, or a large piece of paper.  Students create statements that connect at least two words/phrases as predictions about the concept(s) they are about to study.


What I love about using a word splash is it connects the beginning of the lesson to the end of the lesson.  Students make predictions.  You teach them about the concept (in this example - introduction to fractions).  Finally students come back to their predictions and determine which were correct and which were misconceptions.  To turn it into a summarizing activity, you can add some additional words learned through the lesson (examples:  numerator, denominator, thirds, halves) and have students create summary statements (or paragraphs) that connect as many words as possible in a meaningful way.

Word splash is an easy way to facilitate a discussion with students and providing them scaffolds to use the correct terminology.  Word splash is also a great way to give a pre-assessment and post-assessment without giving a "test."

Want to take it to the next level?  Have students create their own word splashes.  OR get the students moving.  Write each word on an index card (or name tag) and give one to each student (or place in random parts of the room).  Give students the opportunity to mingle and talk to each other about what they know about the words for five minutes.  Then have students go back to their seats to write connecting statements individually.

What are the connections to literacy?  So, so many:  making predictions, making connections, vocabulary, writing statements that require students to think about similarities and differences, summarizing.


 photo thinkingoutloudtitle.png

Teaching Different Style Learners

Hello Literacy Land Friends! Tara Looney here from Looney's Literacy (currently on sabbatical on my personal site).  I'm so excited and honored to be part of such a fabulous group of teachers willing to share their expertise, tips,  and tricks with me so I can continue to learn and grow! If you've been following along you know it is Lit Land's second birthday. Bloggers old and new are coming together to share their expertise and a little surprise for you!  


Teaching K-6 is a very wide range on the literacy continuum.  I've spent 11 years studying this continuum and will continue studying it until I no longer teach. Not only is it important to understand the continuum but it is as equally important to understand where individual students fall on the continuum and how we can support them as individuals. My district has adopted the Fountas & Pinnell leveled literacy program which comes with a very handy guide to the literacy continuum grades K-6.


I'm very fortunate to teach in a small district in a building with just a little over 200 children. Because most attend this same building pre-school through 6th grade we have ample opportunity to get to know all our students very well. We've also created a family environment where we  all have mutual respect and encourage the same responsible behaviors from all our students and staff. This makes a tremendous impact on student learning. 


It also makes an impact on our lesson planning strategies. When you know your students well it is easier to tailor plans to meets different styles of learners. I try to met their needs by offering opportunities for them to learn in which ever fashion suits them best. 


Today I'm going to share with you how my third grade intervention groups have opportunities to practice classroom skills in ways that are easy for them. I create lessons that give my students different ways to learn literacy skills that may be difficult for them.  


I plan a variety of lessons that include strategies to meet the needs of visual, auditory, verbal, kinesthetic, logical, social, and solitary learners. Most learners use all of these styles of learning they just may have one or two that are more dominate then others. This is why I decided to create these weekly notebooks that offer something for all learning styles. Click the graphic below to get a free sample.  


These activities include: read alouds, anchor charts, graphic organizers, manipulatives, movement and chances to work independently. 


6 MUST-HAVES for a Writing Folder

6 MUST-HAVES for a Writing Folder
I was born to be a teacher.  My brother and sister will attest to that...I made them play school from the time they could hold a pencil.  I had a Raggedy Ann chalkboard and a box of carbon paper.  That's right, I could make 2 worksheets that were identical. See, I was supposed to be a teacher. I am excited to share all about writing folders for kindergarten and emergent writers.

Kindergarten students can be given Writing Folders in January of the school year.  By the time, they get their folders they are ready for them.  We have practiced writing and learned procedures for our writing time.  Let me walk you through the folder.

1, Front Pocket Label

6 MUST-HAVES for a Writing Folder
As you can tell, I use 2-pocket, 3-prong folders.  The front pocket is labeled "Works in Progress" and the students learn to put their writing in this pocket while they are still working on it.  Before students have folders, we are doing whole group writing on chart paper.  Students walk through a daily process for writing that includes storing their writing day-to-day.  Creating this habit while it's a whole group activity, supports the students independent activities.  
6 MUST-HAVES for a Writing Folder

2. Writing Ideas Page

Once students are asked to write independently, they need to be allowed to CHOOSE their topic.  Providing topic cards, picture word books, and writing lists, students can choose 2 or 3 topics.  This sheet can be kept in the front pocket...behind the works in progress.  As they finish a story, the student moves the writing to back pocket and the writing ideas page takes center stage again.  Students can either choose a topic on the existing list or find new topics.  I have found the more they are allowed to choose what they are writing about, the more they write.  

3. Sound Chart

6 MUST-HAVES for a Writing Folder
I'm kind of a freak about sound charts.  Emergent writers need something to hang their sounds on...and I want to be in charge of the connections.  I want short vowels.  I want hard c and hard g.  We practice these sounds every day and they are "experienced" in using this chart to stretch words and write sounds through our whole group writing lessons.  There are sound charts all over the room, but having another sound chart easily available is optimal.  As the students progress from this initial sound chart, I like to add a blends linking chart.

4. Rubric 

6 MUST-HAVES for a Writing FolderAnother tool we use ALL THE TIME is the BIG 3.  We have made a giant anchor chart.  We sing the song every day.  We have hand motions to make sure we include capitals at the beginning, spaces in the middle, and an end mark at the end.  I like including a Big 3 rubric in the writing folder as another reminder for students.  Providing the rubric also allows students to self-evaluate their writing.

5. Personal Word Walls

6 MUST-HAVES for a Writing FolderIncluding a personal word wall allows students to be independent and grow as writers and readers.  I include all the words introduced in the first and second nine weeks.  At the beginning of the third nine weeks, I switch out the word walls to include all of the words that will be introduced that 9 weeks.  I do the same at the beginning of the 4th nine weeks.  I can also add words as students ask for them.  I try to add sight words not topic specific words.  The word walls should be useful with all writing and I don't want to fill the word wall with story-specific words that won't help them beyond that one story.

6. Back Pocket Label 

6 MUST-HAVES for a Writing Folder
Finally, the back pocket is just as important as the front pocket.  I include a label that reads, "Completed Works."  Students put their "completed works" in this pocket.  When they have 3 completed stories, they are allowed to publish.  Students are allowed to choose their favorite of the three stories and re-write the stories on "special" paper.  "Special" paper is simply paper with a decorative edge or design.  When they choose the story for publishing, the others go home.

Allowing students to have choice and control over their writing will inevitably produce better writing.

If you would like a FREEBIE writing folder handout, click the link.


Technology and Literacy

I'm so excited to be joining the talented teachers of Literacy Land as Literacy Land celebrates its second birthday.  I am Amanda from A Very Curious Class.  This month we are sharing our area of expertise, but I also want to introduce myself.


I began teaching in third grade reading, and I was there for two years.  This is now my 10th year in kindergarten, and while that first year was quite an adjustment, I am loving it!  Our building serves all the preschool and kindergarten children in our district.  Last year, I had the opportunity to have a "high ability cluster" in my classroom and meet the needs of our building's highest students.

At the beginning of my career, we had a phenomenal technology teacher in our building.  She was excited to teach me about the different technology available to our students.  I was lucky to work with her a couple years before she moved to a different building.  Since then, I have been excited to explore new technology and connect with others to learn new ways to make learning more engaging for my students.  I, by no means, feel like an "expert" as I am always learning something, but this is something I enjoy doing and see many benefits for my students.

I am very fortunate to have access to technology in my classroom and building.  My building has a computer lab of 25 computers as well as iPads in every classroom.  We use iReady as a computerized assessment tool in our district.  We also have subscriptions to Raz-Kids, which my students use in our classroom during reading centers.

I love reading and learning about new apps that will benefit my students.  One of our favorites is Book Creator.  If you have not used this app, try out the free version.  It allows you to write one book to try it out.  My students, in kindergarten, are able to use the app relatively independently at this point in the year.  Their biggest struggle is formatting and making everything (text) look the same.  Books can then be published in the iBook store.  Here is our latest book about letter sounds.  We choose to publish all of our books free, and a technology integration teacher in our district takes care of doing this for all of us.  He tells me it is very easy to set up an account for publishing.

At this point, I realized that we have only focused on nonfiction writing using Book Creator.  I have a couple kids who I know would love to write a story on here, so we might have to break this app out during our writing time for them to write their own stories.


Another app we love is ChatterPix.  I've used this one with nonfiction text the most. Students can record up to 30 seconds of speaking and make the photo "talk".  Students love talking about their topic using this app.  A different way we used it was to interview staff members at the beginning of the year and take their photos.  Students then shared information about each staff member interviewed through the ChatterPix app.

Interviewing one of our staff members.
Here is the ChatterPix of our awesome literacy coach.

Pic Collage is a great way for them to organize their thinking. We used this to create an "All About Me" collage at the beginning of the year.  The kids took a selfie then used the app's search tool to find pictures that showed things they like.  This was a great intro to technology at the beginning of the year.

Last year on a snow day, I sent a message via Remind and e-mail telling students to look for 2 or more things in their house that rhyme.  They brought these items for show and tell the next day then used Pic Collage to take photos of their items and label them.

Working a collage this year.

Some apps we love to practice literacy skills include: 
We were fortunate to have author/illustrator Todd Parr visit our school this year.  It was an awesome experience for our kiddos (and teachers/community).  My students loved all his books, but we chose to write our own book about feelings. We used KidPix computer software to write a feelings sentence and illustrate in Todd Parr's style.  I then e-mailed these saved pictures to myself to get them on the iPad and we turned them into a book using Book Creator. The pictures were also printed and displayed at our local library, where Mr. Parr presented that evening for the community.

As you can see, I wrote their ideas out on a white board for them to copy as they typed.  Because we were publishing it, spelling needed to be correct.
I hope this post gave you an idea or two about incorporating technology to help with literacy skills.  I'm looking forward to sharing more with you throughout the year!